

Father's Day Beer and Chocolate Marshmallows

Our marshmallows in beer and chocolate are unusual enough to make him feel pretty special that you went to all this trouble!
Preparation time: 30 mins
Setting time 1 hour
Total time: 1 hour 30 mins
Servings: 4 (about 22 marshmallows in total)
Ingredients
1/3 cup and a separate 1/4 cup of flat dark beer (light beers will create bitter marshmallows
1 1/2 tablespoons of unflavored gelatin
2 teaspoons of vanilla extract
3/4 cup of granulated sugar
A pinch of salt
1/2 cup + 2 tablespoons of corn syrup
10-12 ounces of milk chocolate
2-3 teaspoons of canola oil (for thinning the chocolate, if necessary)
How to make your Father's Day Beer & Chocolate Marshmallows:
1) You need to flatten your beer, so the best thing to do is to open the beer and let it sit unopened overnight. If you’ve forgotten to do this, then pour the beer into a mixing bowl and stir with a balloon whisk, which will get rid of most of the carbon dioxide.
2) Take out a bread baking pan (around 8 x 4 inches) and spray it with nonstick cooking oil. If you have no nonstick spray, line your baking pan with parchment paper, and tape the flaps onto the outside so the paper does not move around when spooning in the marshmallow mixture.
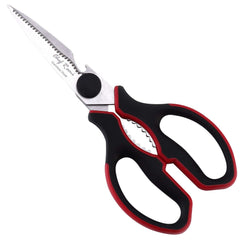
Use kitchen shears to cut accurate parchment shapes.
3) Now, get out a stand mixer and sprinkle in the gelatin. In a separate bowl, whisk together the vanilla extract and 1/3 cup of your flat beer with a balloon whisk, and add to the gelatin in the stand mixer bowl.
4) Whisk the mixture using the stand mixer until there are no lumps.
5) In a medium saucepan, add the sugar, salt, corn syrup, and the remaining 1/4 cup of your flat beer, and heat on a medium-high setting until the mixture begins to boil. The mixture should be foaming and nearly fill up the pan (be careful that it doesn’t boil over!)
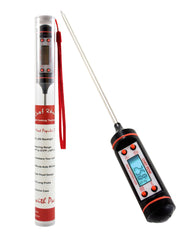
6) Place a candy or meat thermometer into the sugary mixture and check that it has reached 225-230°F, and then allow it to bubble away for another 5 minutes before taking off heat.
7) Turn on your stand mixer again (containing the gelatin and beer mixture) to a low speed setting, and pour in the sugar and beer mixture slowly, allowing the syrup to drip down the sides of the bowl.
8) Once both mixtures are combined in the stand mixer, turn the setting to high and whisk for 8-10 minutes. The mixture should become very thick and glossy.
9) Spoon the marshmallow mixture into the greased / lined baking pan and leave it for at least 12 hours (overnight is preferable) to cure.
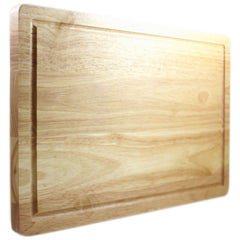
10) Rub the top of the marshmallow mixture with some powdered sugar and turn it out onto a wooden cutting board. Rub the top (now the other side of the marshmallow) with more powdered sugar, and cut into around 22 equal sized pieces with a sharp knife.
11) Melt your chocolate by placing it in a metal bowl, and placing this over a saucepan of boiling water. Or you can melt your chocolate by heating the chocolate in a microwaveable bowl for just 30 seconds a time on a high setting (make sure you stir the chocolate every 30 seconds).

If your melted chocolate feels too thick and viscous to coat your marshmallow pieces, use a small balloon whisk to whisk in some canola oil, about 1 teaspoon a time, until you are happy with the consistency.
12) Using a toothpick, pick up each marshmallow piece in turn and drop into the chocolate mixture, using the toothpick to turn the marshmallow piece so it is evenly coated on all sides.
13) Leave to set for about an hour. If it’s particularly warm where you are, place your marshmallow pieces in the fridge to set.
14) You can store your marshmallows in a sealable container for a number of weeks. We recommended storing the container in the fridge to stop the chocolate from melting.
Be a whisk taker! Steal the hearts of your friends and family by trying this recipe!
Our Kitchen Whisk Set make whisking and mixing tasks less of a chore. They’re extremely lightweight, so no more aching wrists and arms. Plus, as they are made from food-grade silicone, they will never scratch your expensive nonstick cookware and bakeware!

"These are perfectly designed. The loops are different lengths so they don't jam against each other and snap, they have the perfect amount of flex versus stiffness to whisk anything from eggs to thick batters and best of all, they won't scratch my pots and pans!! They are also a perfect size to fit in my hand."
- Michelle R
Click the button below to add these indispensable cooking tools to your collection today.

Comments
Kingslin#1
I really felt good and start to make it in my home.Your quote really worked yesterday “Be a whisk taker! Steal the hearts of your friends and family by trying this recipe” yes in my home everyone praised it and they asked me how i did this .